Accessories for i3D
Testing tips and consumables: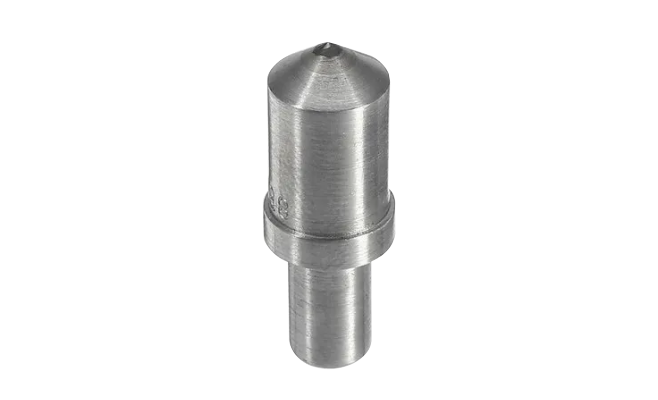
#1 i3D consumables
Indenter type A
High-precision indenter (diamond) for performing indentation testing according to DIN SPEC 4864.

#2 i3D consumables
Indenter type B
High-precision indenter (diamond) for performing indentation testing according to DIN SPEC 4864.

#3 i3D consumables
Indenter type C
High-precision indenter (diamond) for performing indentation testing according to DIN SPEC 4864.
#4 i3D consumables
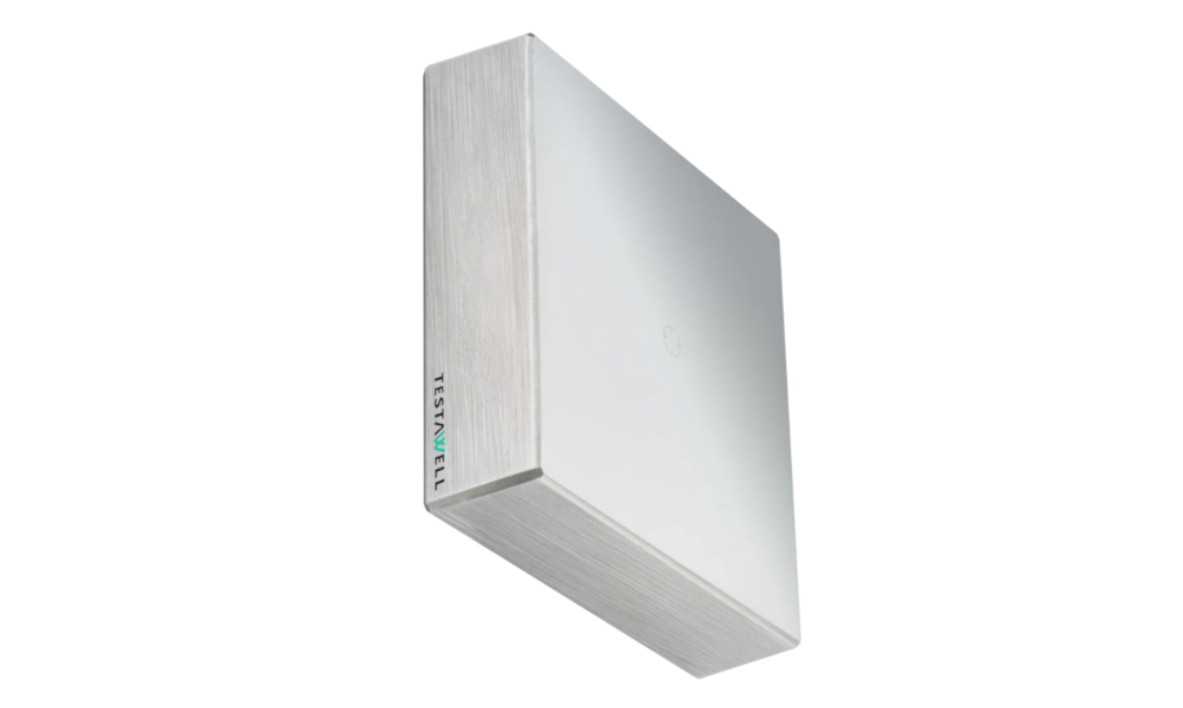
Strength plate (soft)
Strength plate for the calibration of i3D devices, with a medium strength range of approximately 200 to 300 MPa.

#5 i3D consumables
Strength plate (middle)
Strength plate for the calibration of i3D devices, with a medium strength range of approximately 500 to 700 MPa.

#6 i3D consumables
Strength plate (hard)
Strength plate for the calibration of i3D devices, with a medium strength range of approximately 1100 to 1200 MPa.
Hardness Reference Plates
Hardness reference plates are an essential tool for the regular and precise verification of your hardness testing devices. According to international standards DIN EN ISO 6506 (Brinell), DIN EN ISO 6507 (Vickers), DIN EN ISO 6508 (Rockwell), and DIN EN ISO 4545 (Knoop), periodic tests with calibrated and certified hardness reference plates must be conducted and documented to ensure the accuracy of hardness testing.When buying hardness reference plates online, you should look for the highest quality and reliable calibration. Our hardness reference plates provide minimal hardness deviation and are calibrated according to UKAS standards, ensuring your test results remain precise and compliant with standards.
The use of hardness reference plates is particularly important to avoid systematic measurement deviations. Re-testing is necessary after any changes to machine settings, such as switching test methods or indenters. Additionally, daily verification with at least one or two test impressions per hardness scale is required and is frequently reviewed during audits.
With our range of hardness reference plates, ordering the right solution for your application is simple. We offer plates for all standard hardness testing methods, including Vickers, Rockwell, Knoop, and Brinell, and supply industries worldwide, such as aerospace, automotive, mechanical engineering, and medical technology.
Ensure the accuracy and reliability of your hardness testing devices and order high-quality hardness reference plates online with us today!
Hardness Reference Plates for Calibration of Hardness Testing Devices
Selection of plates for Rockwell HRC:
#9 Hardness comparison block
Rockwell 25 HRC
Rockwell 25 HRC, according to DIN EN ISO 6508 with DAkkS calibration certificate.

#10 Hardness comparison block
Rockwell 30 HRC
Rockwell 30 HRC, according to DIN EN ISO 6508 with DAkkS calibration certificate.

#11 Hardness comparison block
Rockwell 35 HRC
Rockwell 35 HRC, according to DIN EN ISO 6508 with DAkkS calibration certificate.

#12 Hardness comparison block
Rockwell 40 HRC
Rockwell 40 HRC, according to DIN EN ISO 6508 with DAkkS calibration certificate.

#13 Hardness comparison block
Rockwell 45 HRC
Rockwell 45 HRC, according to DIN EN ISO 6508 with DAkkS calibration certificate.

#14 Hardness comparison block
Rockwell 50 HRC
Rockwell 50 HRC, according to DIN EN ISO 6508 with DAkkS calibration certificate.

#15 Hardness comparison block
Rockwell 55 HRC
Rockwell 55 HRC, according to DIN EN ISO 6508 with DAkkS calibration certificate.

#16 Hardness comparison block
Rockwell 60 HRC
Rockwell 60 HRC, according to DIN EN ISO 6508 with DAkkS calibration certificate.

#17 Hardness comparison block
Rockwell 65 HRC
Rockwell 65 HRC, according to DIN EN ISO 6508 with DAkkS calibration certificate.

#18 Hardness comparison block
Vickers 110 HV1
Vickers 110 HV1, according to DIN EN ISO 6507 with DAkkS calibration certificate.

#19 Hardness comparison block
Vickers 110 HV2
Vickers 110 HV2, according to DIN EN ISO 6507 with DAkkS calibration certificate.

#21 Hardness comparison block
Vickers 110 HV10
Vickers 110 HV10, according to DIN EN ISO 6507 with DAkkS calibration certificate.

#22 Hardness comparison block
Vickers 110 HV30
Vickers 110 HV30, according to DIN EN ISO 6507 with DAkkS calibration certificate.

#25 Hardness comparison block
Brinell 110 HBW1/10
Brinell 110 HBW1/10, according to DIN EN ISO 6506 with DAkkS calibration certificate.

#26 Hardness comparison block
Brinell 110 HBW1/30
Brinell 110 HBW1/30, according to DIN EN ISO 6506 with DAkkS calibration certificate.

#27 Hardness comparison block
Brinell 110 HBW1/5
Brinell 110 HBW1/5, according to DIN EN ISO 6506 with DAkkS calibration certificate.
#28 Hardness comparison block
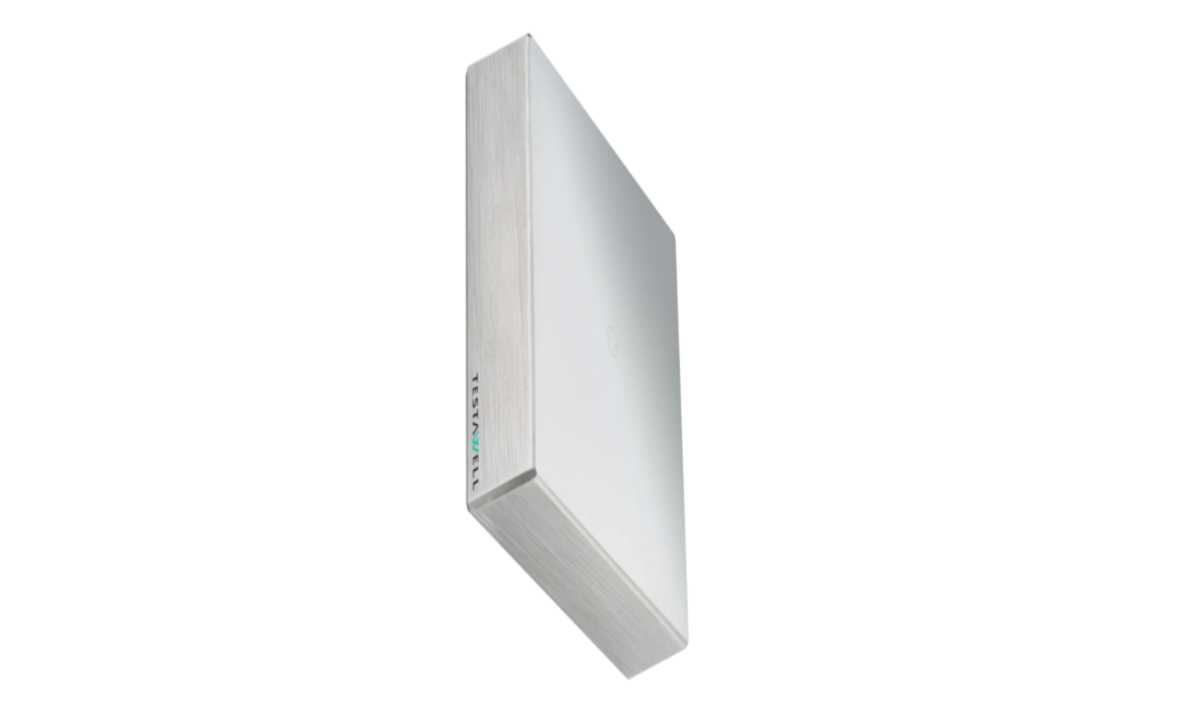
Brinell 110 HBW10/1000
Brinell 110 HBW10/1000, according to DIN EN ISO 6506 with DAkkS calibration certificate.

#29 Hardness comparison block
Brinell 110 HBW10/3000
Brinell 110 HBW10/3000, according to DIN EN ISO 6506 with DAkkS calibration certificate.
Mechanical Material Testing

#7 Material Testing
Indentation Plastometry Imprint Test
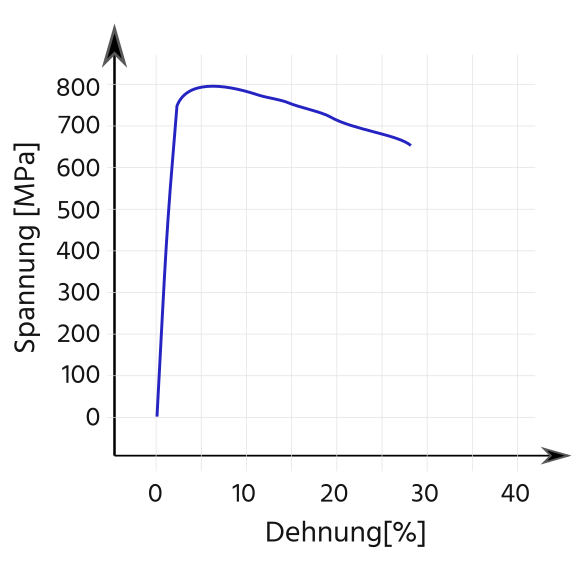
The indentation plastometry based imprint test according to DIN SPEC 4864 enables the precise determination of yield strength, tensile strength, and ductility from indentation tests and serves as an effective alternative to tensile testing. It is used for small parts, welds, and cold working, providing valuable data for finite element analysis (FEM).
#8 Material Testing
Micro Tensile Test
The microtensile test is used for the mechanical characterization of materials at the micro level. The key criterion for using microtensile tests is the need to examine small test volumes, ranging from a few millimeters down to micrometers. With the increasing miniaturization of mechanically stressed systems, understanding deformation and strength behavior in this scale range becomes crucially important.

#9 Material Testing
Vickers Hardness Test
The Vickers hardness test measures material hardness using a diamond pyramid indenter. It is commonly used in metalworking, tool manufacturing, and materials research, for example, for steel and ceramics.

#10 Material Testing
Brinell Hardness Test
The Brinell hardness test assesses material hardness by pressing a steel ball under a defined pressure. It is commonly used in the metal industry, particularly for cast iron and steel alloys, to determine their strength.

#11 Material Testing
Rockwell Hardness Test
The Rockwell hardness test (HRC) measures the hardness of materials by pressing a conical diamond into the surface. It is commonly used in manufacturing and quality assurance, for example, to quickly determine the hardness of metals and plastics.
#12 Material Testing
Instrumented Indentation
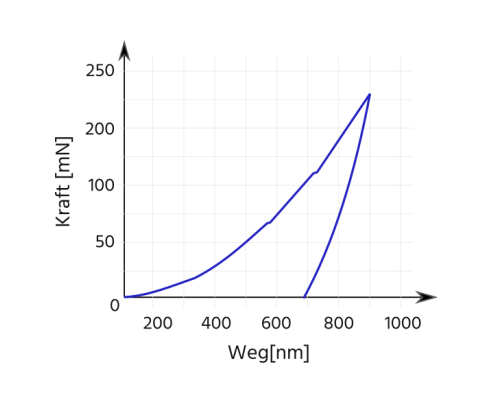
Instrumented indentation testing is a method used to analyze the mechanical properties of materials, particularly in materials research and testing. This testing technique allows for precise evaluation of the force-displacement curve and is used to characterize hardness, elastic properties, as well as derive insights into material strengths.
Optical 3D-Measurement

#1 Optical 3D Measurement
Roughness Measurement
The roughness measurement (surface measurement) is used to determine the surface roughness. For this purpose, a two- or three-dimensional profile of the surface is measured. From this, various roughness parameters are calculated using standardized methods to characterize the surface roughness.
#2 Optical 3D Measurement
Topography Measurements
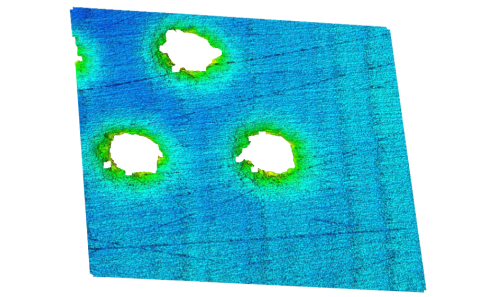
Capturing surface profiles and structures to create three-dimensional height maps of surfaces. This is crucial for the evaluation of materials such as semiconductors, microchips, and other finely structured components.

#3 Optical 3D Measurement
Flatness Inspection
Flatness testing is a critical process for determining the flatness of surfaces, especially important in the semiconductor industry and the manufacturing of optical components such as lenses and mirrors. Through precise measurement methods, flatness testing enables the identification of irregularities, ensuring the quality and functionality of the products.
#4 Optical 3D Measurement
Abrasion Studies
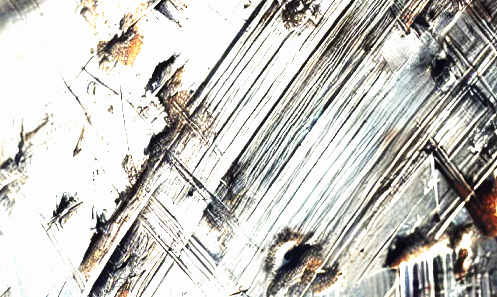
Wear and abrasion studies are essential procedures for assessing wear on surfaces and materials, caused either by specific tests or long-term use. These analyses are crucial for evaluating the durability and quality of materials or coatings and identifying potential weaknesses.
#5 Optical 3D Measurement
Defect and Failure Analysis
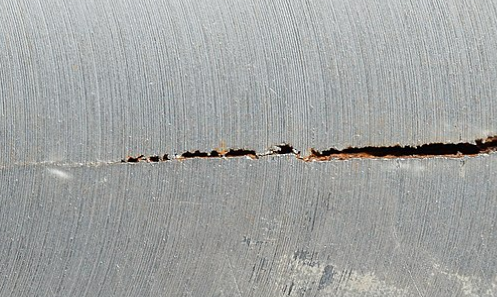
Defect and failure analysis plays a central role in detecting and characterizing microcracks, scratches, particles, or other defects on surfaces that can significantly affect the performance and quality of products. Accurate identification of these flaws is crucial for quality assurance and allows companies to implement targeted corrective actions.